Loopy Pro: Create music, your way.
What is Loopy Pro? — Loopy Pro is a powerful, flexible, and intuitive live looper, sampler, clip launcher and DAW for iPhone and iPad. At its core, it allows you to record and layer sounds in real-time to create complex musical arrangements. But it doesn’t stop there—Loopy Pro offers advanced tools to customize your workflow, build dynamic performance setups, and create a seamless connection between instruments, effects, and external gear.
Use it for live looping, sequencing, arranging, mixing, and much more. Whether you're a live performer, a producer, or just experimenting with sound, Loopy Pro helps you take control of your creative process.
Download on the App StoreLoopy Pro is your all-in-one musical toolkit. Try it for free today.

Comments
Use a stepped dial instead. Next trigger pre-dates stepped dials and is really only for cases where you want strict cycling.
Got it - thank you for swift responses even on Sunday evenings 👍🏼
And still I have to come back to this one
Even after reading the manual really carefully, I have to admit that it confuses me and I seem to be too thick to understand …
Stepped dials. I cannot really figure out what the items sources and the on item select can be used for.
The items themselves are just the steps of the dial, but then what can I do with the five categories of actions at the bottom of the edit page?
So I’m able to assign four different actions to a 4 step dial - now how can I assign one single button of an external footswitch to make the four steps cycle?
@Zsolt :
First: read the manual's description of dials and radio buttons:
https://loopypro.com/manual/#radio-buttons-and-stepped-dials
Item Source and Item select are only for certain situations that hopefully the manual explains to your satisfaction. They aren't relevant here.
Set the dial's Perform Actions On setting to Activation Trigger
Set State Feedback to Disabled
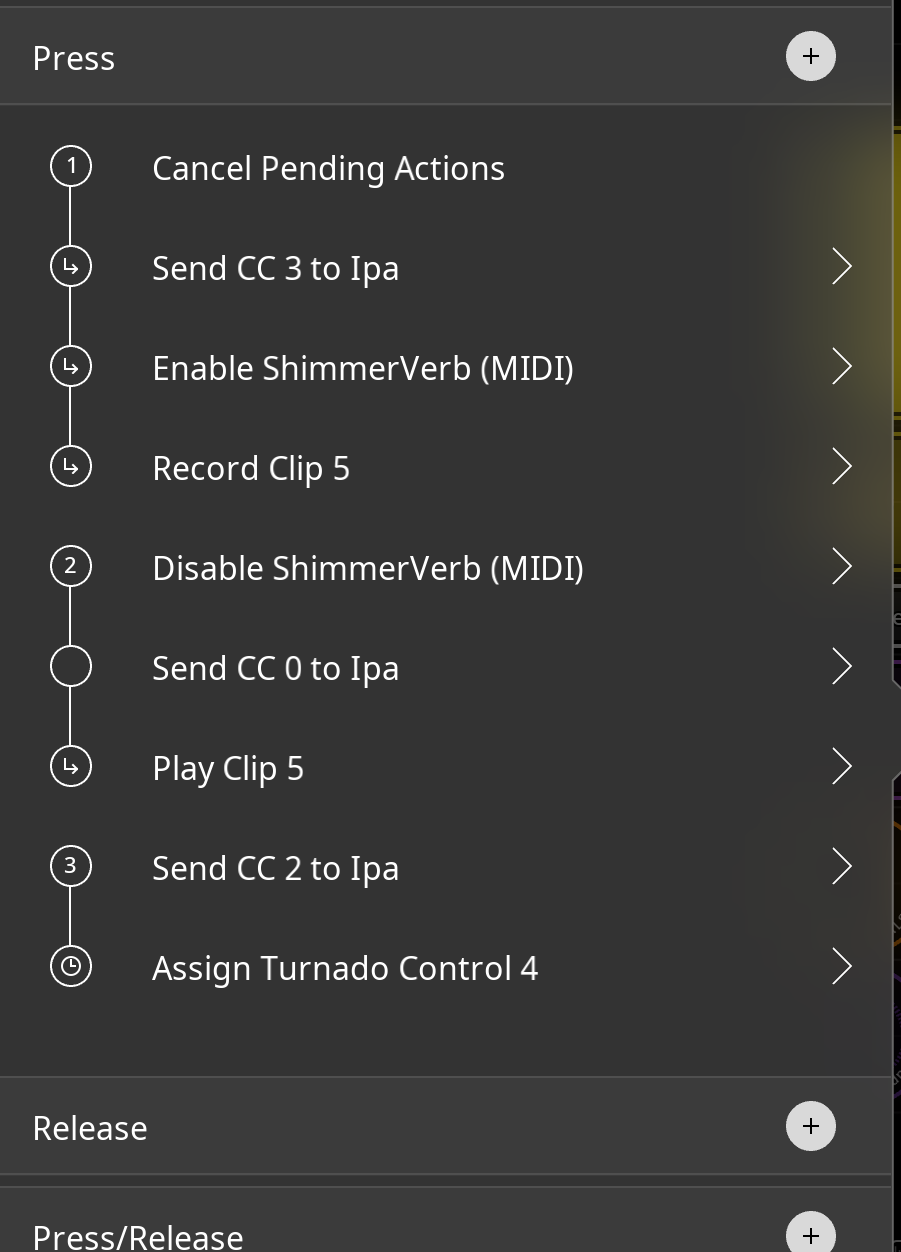
You will set up three steps on your dial. Each step will have the actions for a trigger "step". I.e. in step 1 put all the actions for the first trigger. In step 2, put all the actions for the second trigger.
To each step add as a final action, Trigger Widget with the stepped dial itself as the target. For the action, choose Scroll. As the adjustment choose Nudge Value. Turn wrap around on. Set Perform Actions on to Activation trigger. You can copy the first one and paste it to each of the other steps. This tells the dial that when the step is triggered to perform the actions and advance the dial to the next step without performing the next step.
For testing, create a button with a Trigger Widget action whose target is the stepped dial. For the action, choose "Activate Current Value/Retrigger".
Create a reset button with a Trigger Widget action aimed at the stepped dial that scroll's to the first item. That will reset the dial without triggering it.
Now this was a thorough and detailed description of the whole thing - thank you very much. Of course the whole construction worked instantly. I wonder how anyone could figure this out only using the manual 😅😅